Installation Makes or Breaks Your Stone Investment
You can buy the most beautiful slab in the yard. If it is installed poorly, you will look at the flaws every single day. Worse, you may have to pay to have it removed and replaced. Stone installation is not forgiving — mistakes are permanent and expensive. This guide covers the 10 most common failures, based on real experiences from homeowners, contractors, and fabricators.
★ Key Takeaways
- You can buy the most beautiful slab in the yard. If it is installed poorly, you will look at the flaws every single day. Worse, you may have to pay to have it removed and replaced. Stone installation is not forgiving — mistakes are permanent and expe
- How to avoid:Verify subfloor rating before installation. Stone floors typically need double-layer plywood (1-1/8" minimum total) plus cement backer board or an uncoupling membrane. Your installer should check this — ask them to confirm.
- What happens:Trip hazard, catches dirt, looks unprofessional. Industry standard allows 1/32" lippage for grout joints under 1/4".
- 6. Wrong edge overhang:Standard overhang is 1.5". Overhangs greater than 10" for bar seating require corbels or steel brackets. Unsupported overhangs will eventually crack.
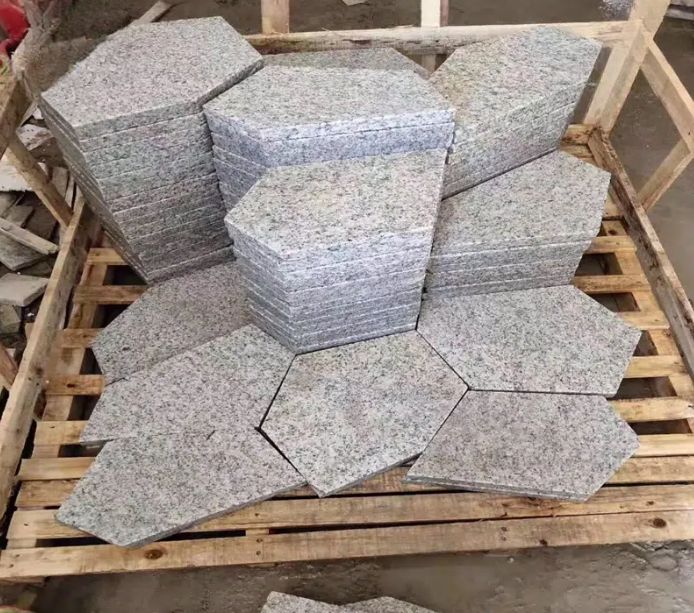
Good stone starts with good installation. These are the mistakes that turn a dream project into an expensive headache.
1. Inadequate Subfloor Support
The mistake: Installing heavy stone tile over a floor that deflects or flexes. Natural stone requires a subfloor twice as rigid as ceramic tile (L/720 deflection rating vs L/360 for ceramic).
What happens: Cracks develop in the stone and grout within months. The entire floor may need to be removed and reinstalled.
How to avoid: Verify subfloor rating before installation. Stone floors typically need double-layer plywood (1-1/8" minimum total) plus cement backer board or an uncoupling membrane. Your installer should check this — ask them to confirm.
2. Wrong Mortar Under Stone
The mistake: Using pre-mixed mastic or standard thin-set instead of polymer-modified mortar rated for natural stone.
What happens: Tiles debond from the substrate. Heavy stone tiles can literally come loose and shift underfoot.
How to avoid: Specify polymer-modified thin-set mortar rated for natural stone. The bag should explicitly state "for natural stone." For exterior and wet areas, use epoxy-based mortar.
3. Lippage — Uneven Tile Edges
The mistake: Adjacent stone tiles sit at slightly different heights, creating a "lip" you can feel underfoot and see in raking light.
What happens: Trip hazard, catches dirt, looks unprofessional. Industry standard allows 1/32" lippage for grout joints under 1/4".
How to avoid: Use a leveling system (spin-type or wedge-type) during installation. For large-format tiles (15" or larger on any side), a leveling system is not optional — it is essential.
4. Failure to Seal Before Grouting
The mistake: Grouting natural stone without sealing it first. The stone's pores absorb pigments from the grout.
What happens: Permanent grout haze and staining, especially on light-colored and porous stones. The stone may need professional refinishing or replacement.
How to avoid: Apply a grout release or penetrating sealer to the stone before grouting. This fills the surface pores temporarily so grout pigment cannot penetrate.
5. Poor Seam Placement and Execution
The mistake: Seams placed in highly visible locations, or poorly color-matched epoxy that draws attention to the joint.
What happens: An otherwise beautiful countertop is dominated by an ugly seam line.
How to avoid: Discuss seam placement with your fabricator before templating. Seams should be placed away from focal points, ideally at sink or cooktop cutouts where they are less visible. The epoxy color should be custom-mixed to match your specific slab.
6-10. Remaining Common Mistakes
6. Wrong edge overhang: Standard overhang is 1.5". Overhangs greater than 10" for bar seating require corbels or steel brackets. Unsupported overhangs will eventually crack.
7. Skipping the template step: Some installers skip digital templating and measure manually. This leads to poor fit, especially around walls that are not perfectly straight. Insist on digital templating.
8. Outdoor installation without slope: Outdoor stone surfaces must slope 1/4" per foot away from the house. Flat outdoor stone traps water, which freezes and cracks the stone or the substrate.
9. Using the wrong grout color: Contrasting grout emphasizes every dimensional variation. Matching grout (as close to the stone color as possible) creates a smooth look. For stone, matching grout is almost always the better choice.
10. No expansion joints: Stone expands and contracts with temperature changes. Large floors and outdoor installations need expansion joints at least every 20-25 feet and at all transitions to walls and other materials.
Further Reading
Related articles: Marble Tiles: Complete Selection, Installation & MaintenanceGuide · Sustainable Stone Sourcing:LEED, BREEAM & Green Building · Stone Stairs: Design Ideas, Materials & InstallationGuide
External references: International Trade Administration · Natural Stone Institute
Frequently Asked Questions
What should I know about installation makes or breaks your stone investment?
The "Installation Makes or Breaks Your Stone Investment" section above covers this topic in detail with specifications and practical guidance for B2B stone buyers.
What should I know about 1. inadequate subfloor support?
The "1. Inadequate Subfloor Support" section above covers this topic in detail with specifications and practical guidance for B2B stone buyers.
What should I know about 2. wrong mortar under stone?
The "2. Wrong Mortar Under Stone" section above covers this topic in detail with specifications and practical guidance for B2B stone buyers.
What should I know about 3. lippage?
The "3. Lippage" section above covers this topic in detail with specifications and practical guidance for B2B stone buyers.